注解
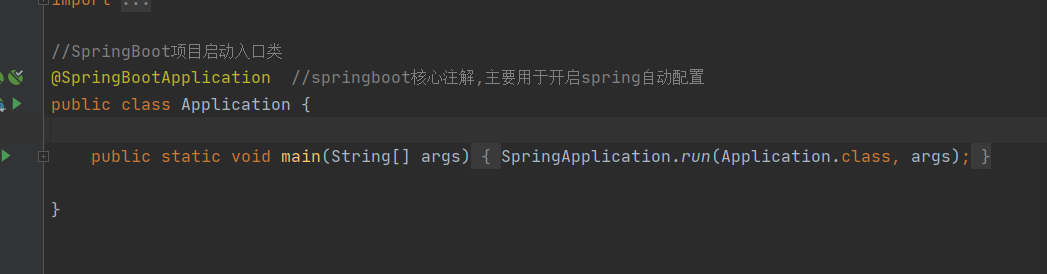
@SpringBootApplication
@SpringBootApplication注解标明此为 SpringBoot 项目的启动类,主程序。应用使用该注解后,SpringBoot 应用直接使用 SpringBoot 默认的配置启动应用
@Controller
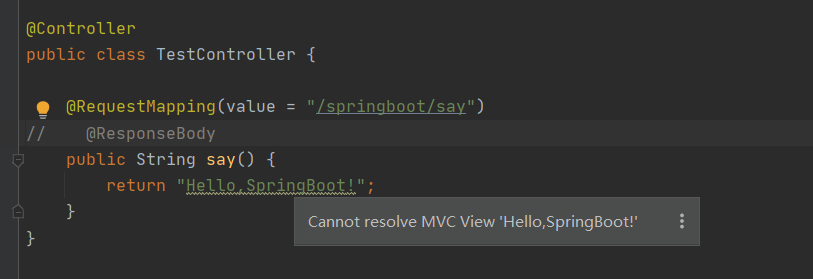
@Controller在一个类上添加@Controller注解,表明了这个类是一个控制器类。
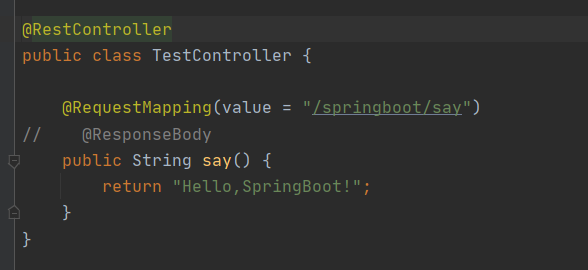
在Spring中**@RestController的作用等同于@Controller + @ResponseBody**。
@RequestMapping
@RequestMapping(value = "/springboot/say")@RequestMapping注解是用来映射请求的,即指明处理器可以处理哪些URL请求,该注解既可以用在类上,也可以用在方法上。
@ResponseBody
@ResponseBody@ResponseBody表示方法的返回值直接以指定的格式写入Http response body中,而不是解析为跳转路径。没有该注解的话,返回值就是解析的跳转路径,会提示没有。
@RestController
@RestController == @Controller + @ResponseBody如果要求方法返回的是json格式数据,而不是跳转页面,可以直接在类上标注**@RestController,而不用在每个方法中标注@ResponseBody**,简化了开发过程。
使用@RestController之后,替代@Controller 以及 @ResponseBody,简化代码。
配置文件
properties文件
原本的properties文件加入配置
#设置内嵌Tomcat端口号
server.port=8080

#设置上下文根
server.servlet.context-path=/wsh
配置完成之后重启项目
访问路由需要加上 /wsh
例如原本路由为 http://localhost:8080/springboot/say 重启之后访问 http://localhost:8080/wsh/springboot/say
yml文件
删除properties配置文件建立一个yml后缀的文件
yml配置文件主要采用前后的空格以及tab键位格式
值前面需要有空格
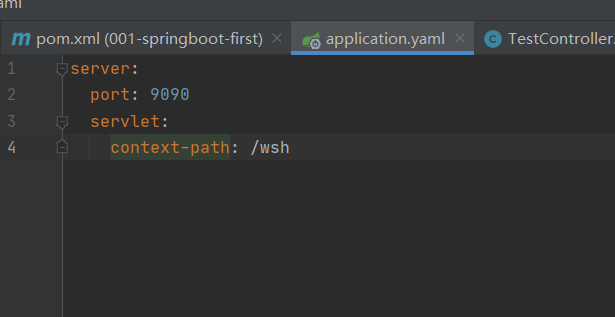
效果与properties配置相同
如果配置文件properties和yml都存在,则以properties配置文件为主
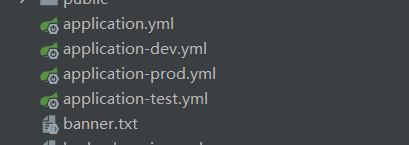
多环境核心配置文件
工作中的开发环境:开发、测试,生产三种环境
ip地址用户环境等可能都不一样
所以需要配置三个环境
不同环境设置不同的配置,例如:
开发环境:
server:
  port: 9090
  servlet:
    context-path: /dev
测试环境:
server:
  port: 9090
  servlet:
    context-path: /test
生产环境
server:
  port: 9090
  servlet:
    context-path: /prod
在主yml配置文件中选择激活哪个配置文件
#springboot主核心配置文件
#激活使用的配置文件
spring.profiles.active=dev
或者yml文件写法
spring:
  profiles:
    active: dev
active 激活对应的环境配置
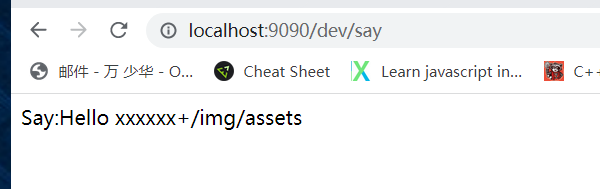
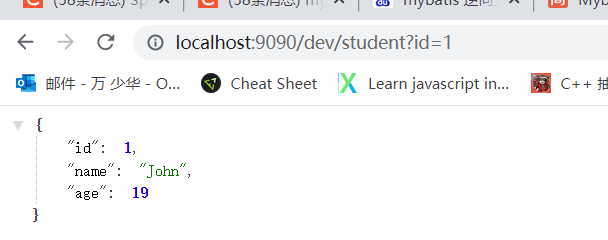
根据激活的不同的环境配置来访问接口
http://localhost:9090/prod/say
http://localhost:9090/test/say
自定义配置
在配置文件中除了设置一些基础配置之外,可能还会设置一些常量,比如文件存放路径,编码方式等等全局常量设置
server:
port: 9090
servlet:
context-path: /prod
#自定义配置
tempFilePath: '/img/assets'
wsh:
appid: 'xxxxxx'
key: 'yyyyyy'
abc:
name: 'abc'
title: 'title'
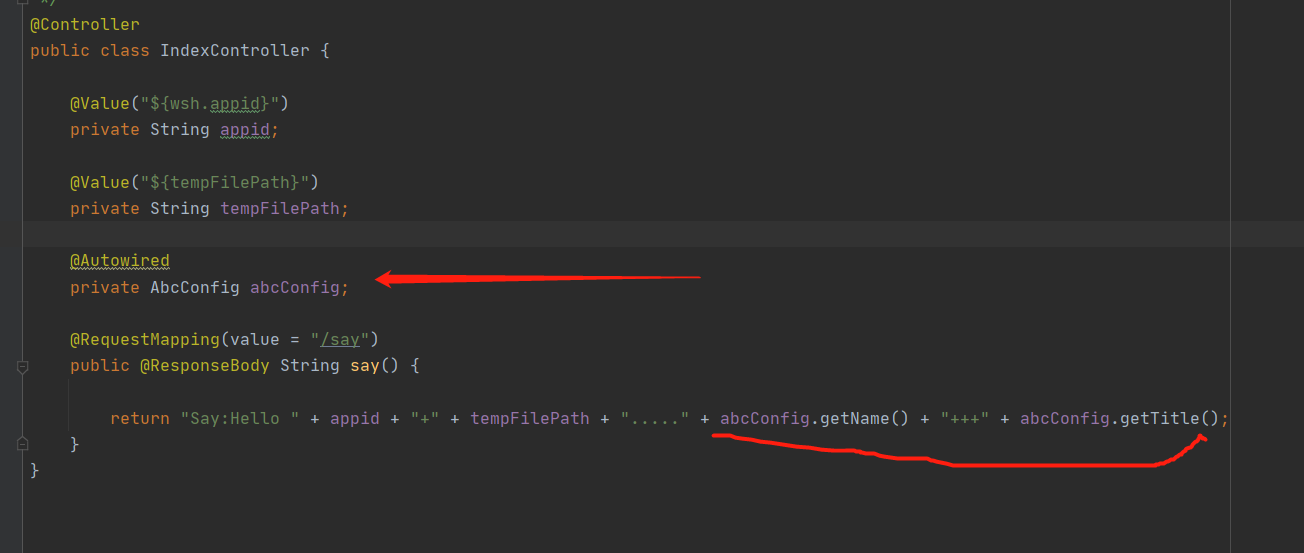
url: 'http://xxxxxx/xxx/xxx'设置了配置文件,在类中使用 @value来取值
@Value("${wsh.appid}")
private String appid;

@Value("${tempFilePath}")
private String tempFilePath;

@RequestMapping(value = "/say")
public @ResponseBody String say() {
    return "Hello:" + appid + ":" + tempFilePath;
}
或者可以使用@ConfigurationProperties注解类来获取配置信息
与上面的区别就是没有直接用@value
而是通过一个注解类
最后引用的是对象而不是所属值
通过对象注解,引用核心配置文件
@ConfigurationProperties主要是为了映射对象@Component将此类将给spring容器进行管理
在代码中这样书写@ConfigurationProperties此为核心配置类@ConfigurationProperties必须有前缀prefix
如果有同名属性可以用这个
@Component//将此类将给spring容器进行管理
@ConfigurationProperties(prefix = "abc")
public class AbcConfig {

    private String name;

    private String title;

    public String getName() {
        return name;
    }

    public void setName(String name) {
        this.name = name;
    }

    public String getTitle() {
        return title;
    }

    public void setTitle(String title) {
        this.title = title;
    }
}在主函数中通过注解的方式进行@Autowired
特别注意
使用@ConfigurationProperties 注解出现警告问题
可以在pom.xml配置文件中加入以下配置
<!--解决使用@ConfigurationProperties 注解出现警告问题-->
<dependency>
    <groupId>org.springframework.boot</groupId>
    <artifactId>spring-boot-configuration-processor</artifactId>
    <optional>true</optional>
</dependency>
集成mybatis
添加依赖:
<!--MySQL驱动-->
<dependency>
    <groupId>mysql</groupId>
    <artifactId>mysql-connector-java</artifactId>
    <!--<version>5.1.9</version>-->
</dependency>

<!--MyBatis整合SpringBoot框架的起步依赖-->
<dependency>
    <groupId>org.mybatis.spring.boot</groupId>
    <artifactId>mybatis-spring-boot-starter</artifactId>
    <version>2.0.0</version>
</dependency>
配置数据库连接信息:
  spring:
  profiles:
    active: dev

  datasource:
    driver-class-name: 'com.mysql.cj.jdbc.Driver'
    url: 'jdbc:mysql://localhost:3306/springboot?useUnicode=true&characterEncoding=UTF-8&useJDBCCompliantTimezoneShift=true&useLegacyDatetimeCode=false&serverTimezone=GMT%2B8'
    username: root
    password: 111111
#  spring.datasource.driver-class-name=com.mysql.cj.jdbc.Driver
#  spring.datasource.url=jdbc:mysql://192.168.154.128:3306/springboot?useUnicode=true&characterEncoding=UTF-8&useJDBCCompliantTimezoneShift=true&useLegacyDatetimeCode=false&serverTimezone=GMT%2B8
#  spring.datasource.username=root
#  spring.datasource.password=123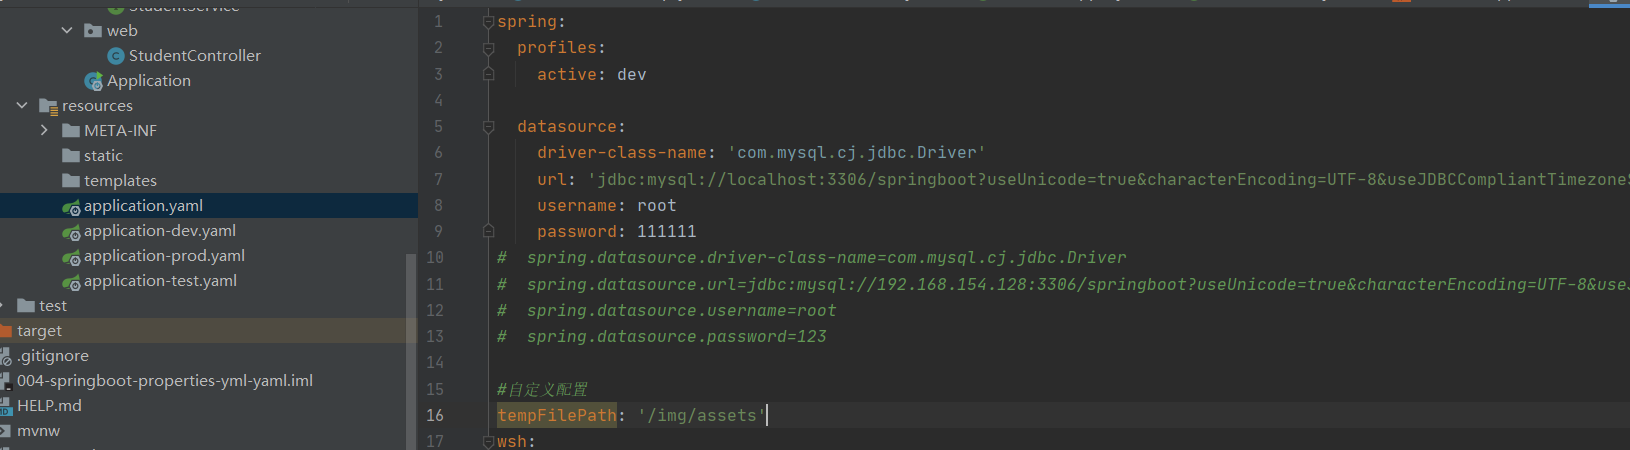
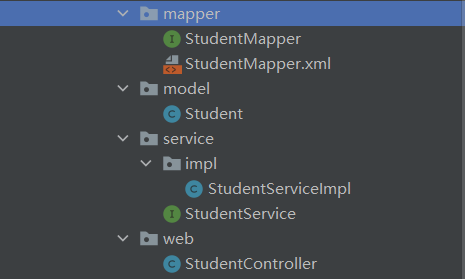
业务代码结构:
controller service 实体类 mapper
可以使用mybatis逆向工程生成,详情见下面的模块
补充说明:
由于mapper文件中的映射文件在src上,而且是xml文件结尾,正常一般放在resource文件夹下

编译的时候执行的结果不会出来
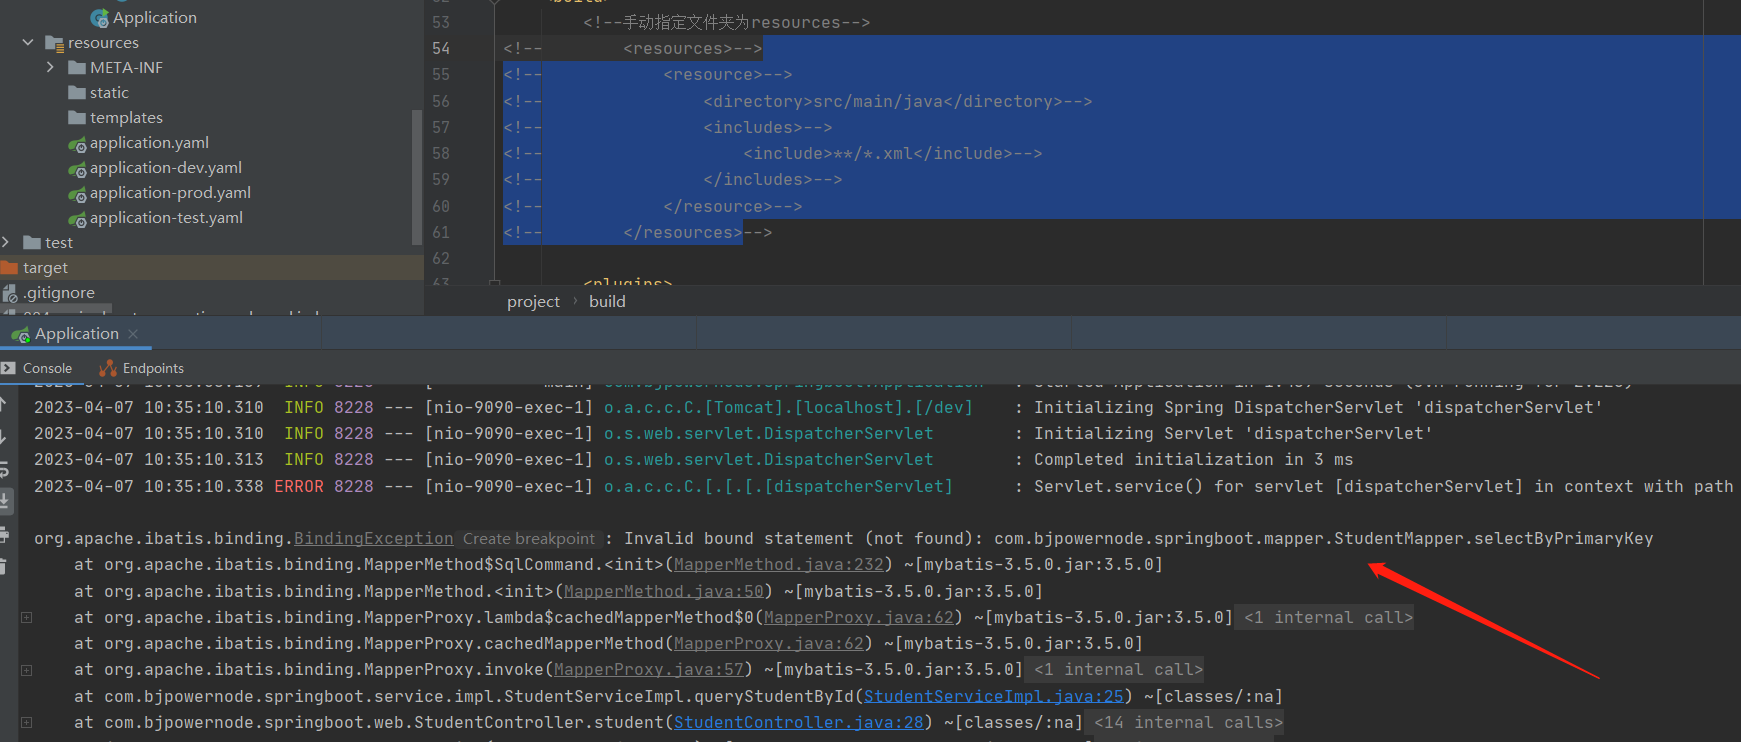
解决方案:手动添加扫描
在pom.xml文件中添加如下
<!--手动指定文件夹为resources-->
        <resources>
            <resource>
                <directory>src/main/java</directory>
                <includes>
                    <include>**/*.xml</include>
                </includes>
            </resource>
        </resources>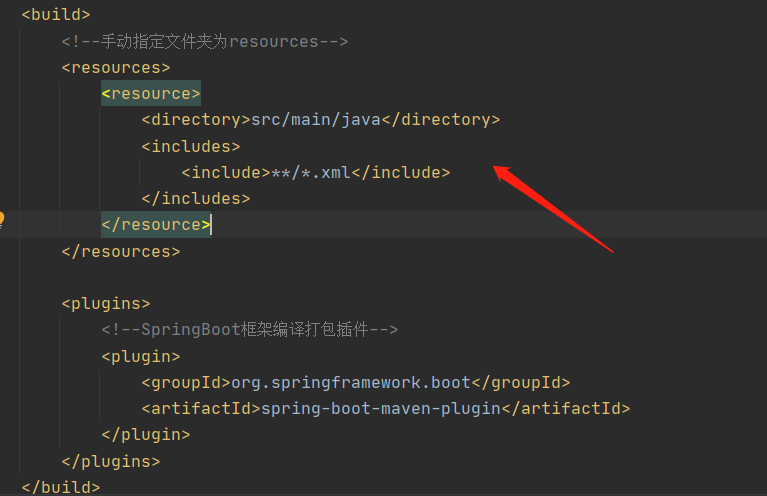
启动项目:
mybatis逆向
通过数据库的表生成代码。
SpringBoot多模块配置以及创建
遇到的问题:
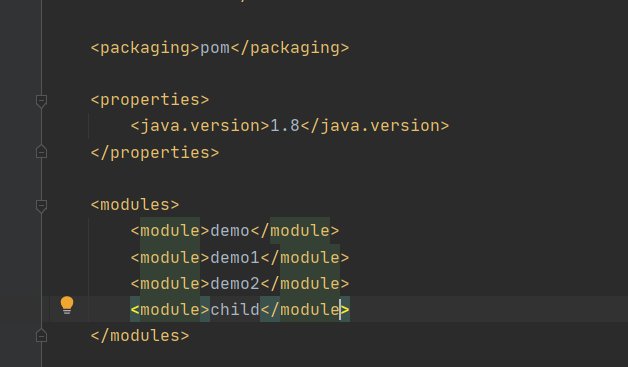
父项目的pom里面打包方式必须为pom
<packaging>pom</packaging>子项目中为jar
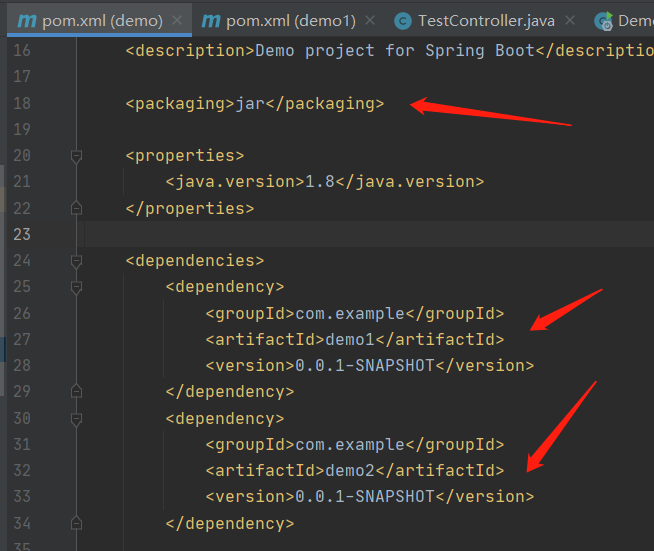
<packaging>jar</packaging>新添加的子项目Controller未识别,接口404
问题原因!!!!启动类pom文件没有引用子项目坐标!
务必在主模块pom.xml中依赖子模块,网上很多教程根本没说这一步,只说使用@ComponentScan标注,只使用@ComponentScan标注,亲测无效!
@SpringBootApplication标注类一定要增加@ComponentScan标注,标识主模块包名+子模块包名
https://www.cnblogs.com/Rocky_/p/15589514.html
基于主模块新建子模块。
主模块pom文件中引入子模块
子模块可以分为主要子模块以及依赖子模块
主要子模块含有启动类
如果想要访问依赖模块的接口,主要子模块需要引入依赖子模块,且启动类中添加扫描
@ComponentScan({"com.example.*"})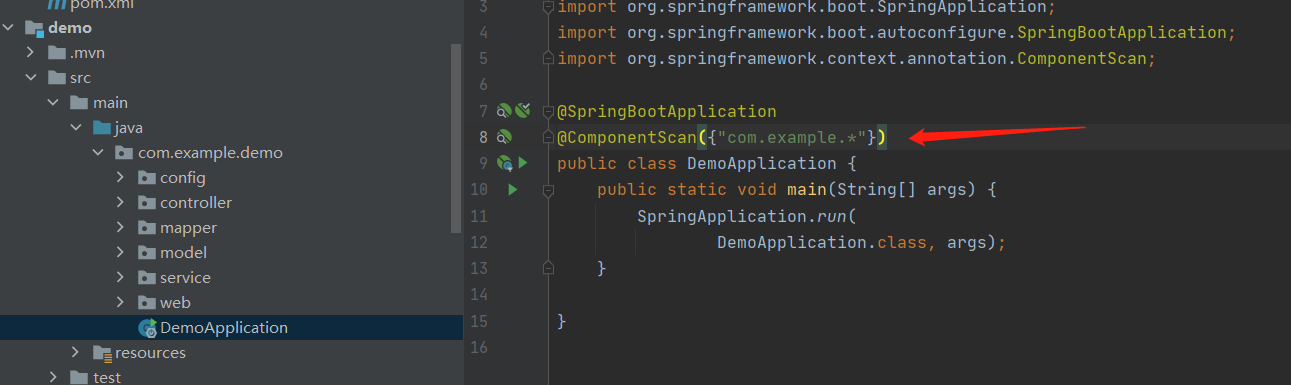
demo案例
https://github.com/JinxLori/-demo-/tree/main/Java/codeDemo/001-springboot-first